
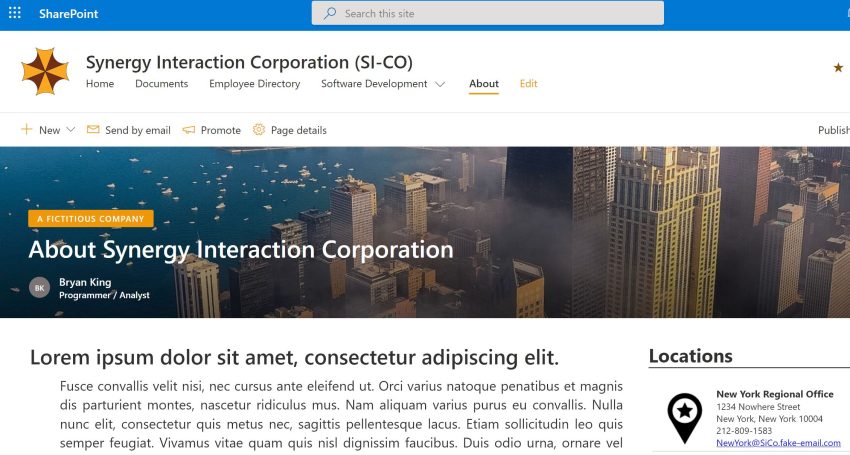
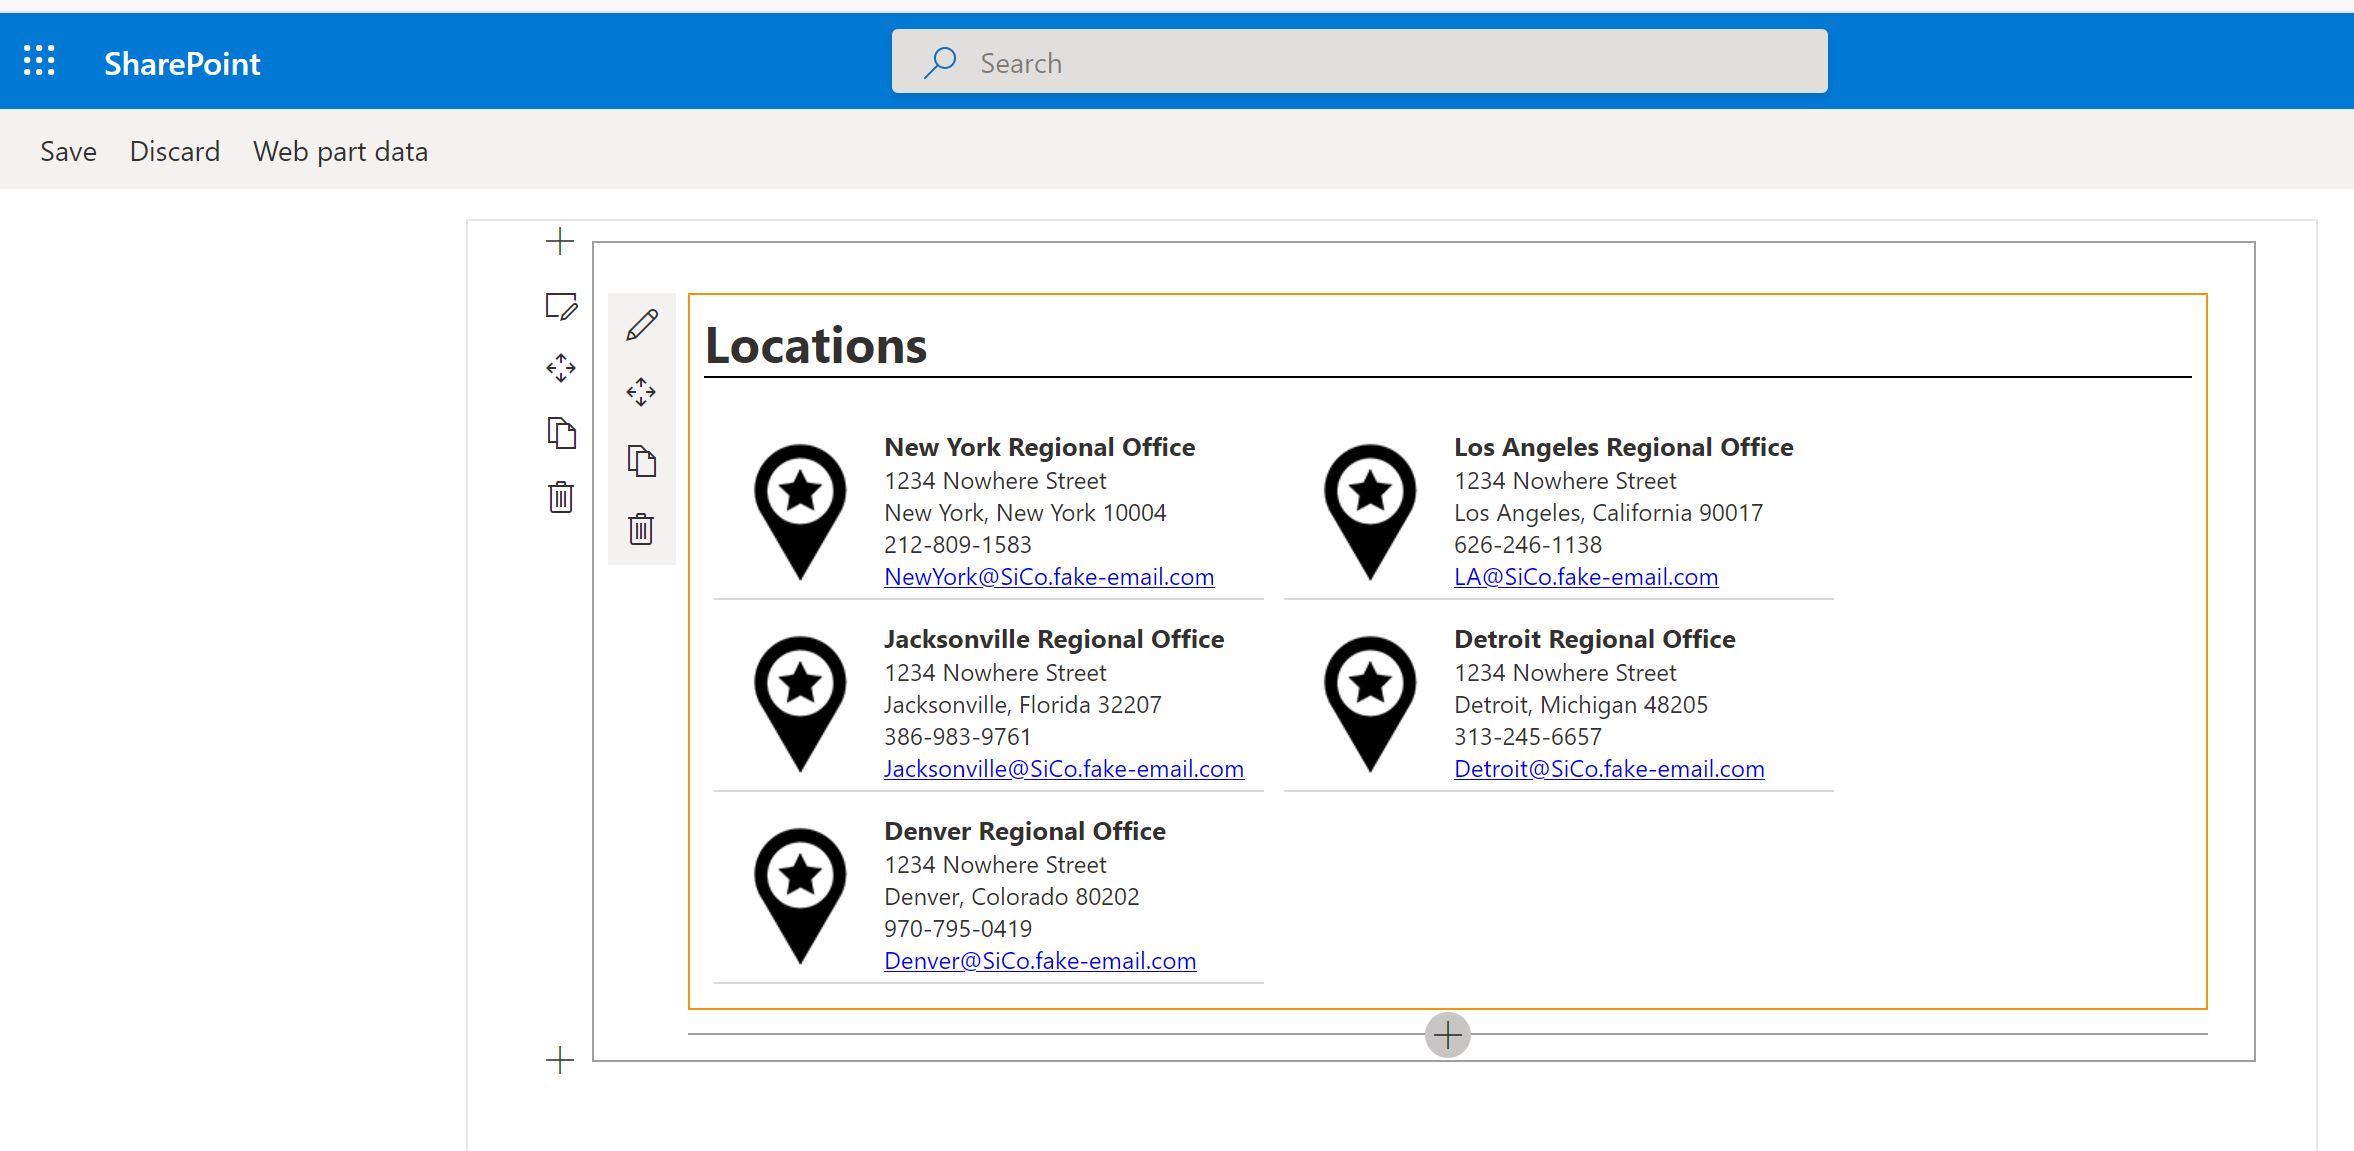
This post is the second part to the “Writing SharePoint Webparts using the SPFx Framework” post I wrote on August 19, 2020. In part one, I focused on setting up your development environment and building your first “Hello World” WebPart. In this post, I will demonstrate writing a “Locations” WebPart for my fictitious company’s about page.
For this demo, I created a custom list titled “Locations.” See Figure 2.
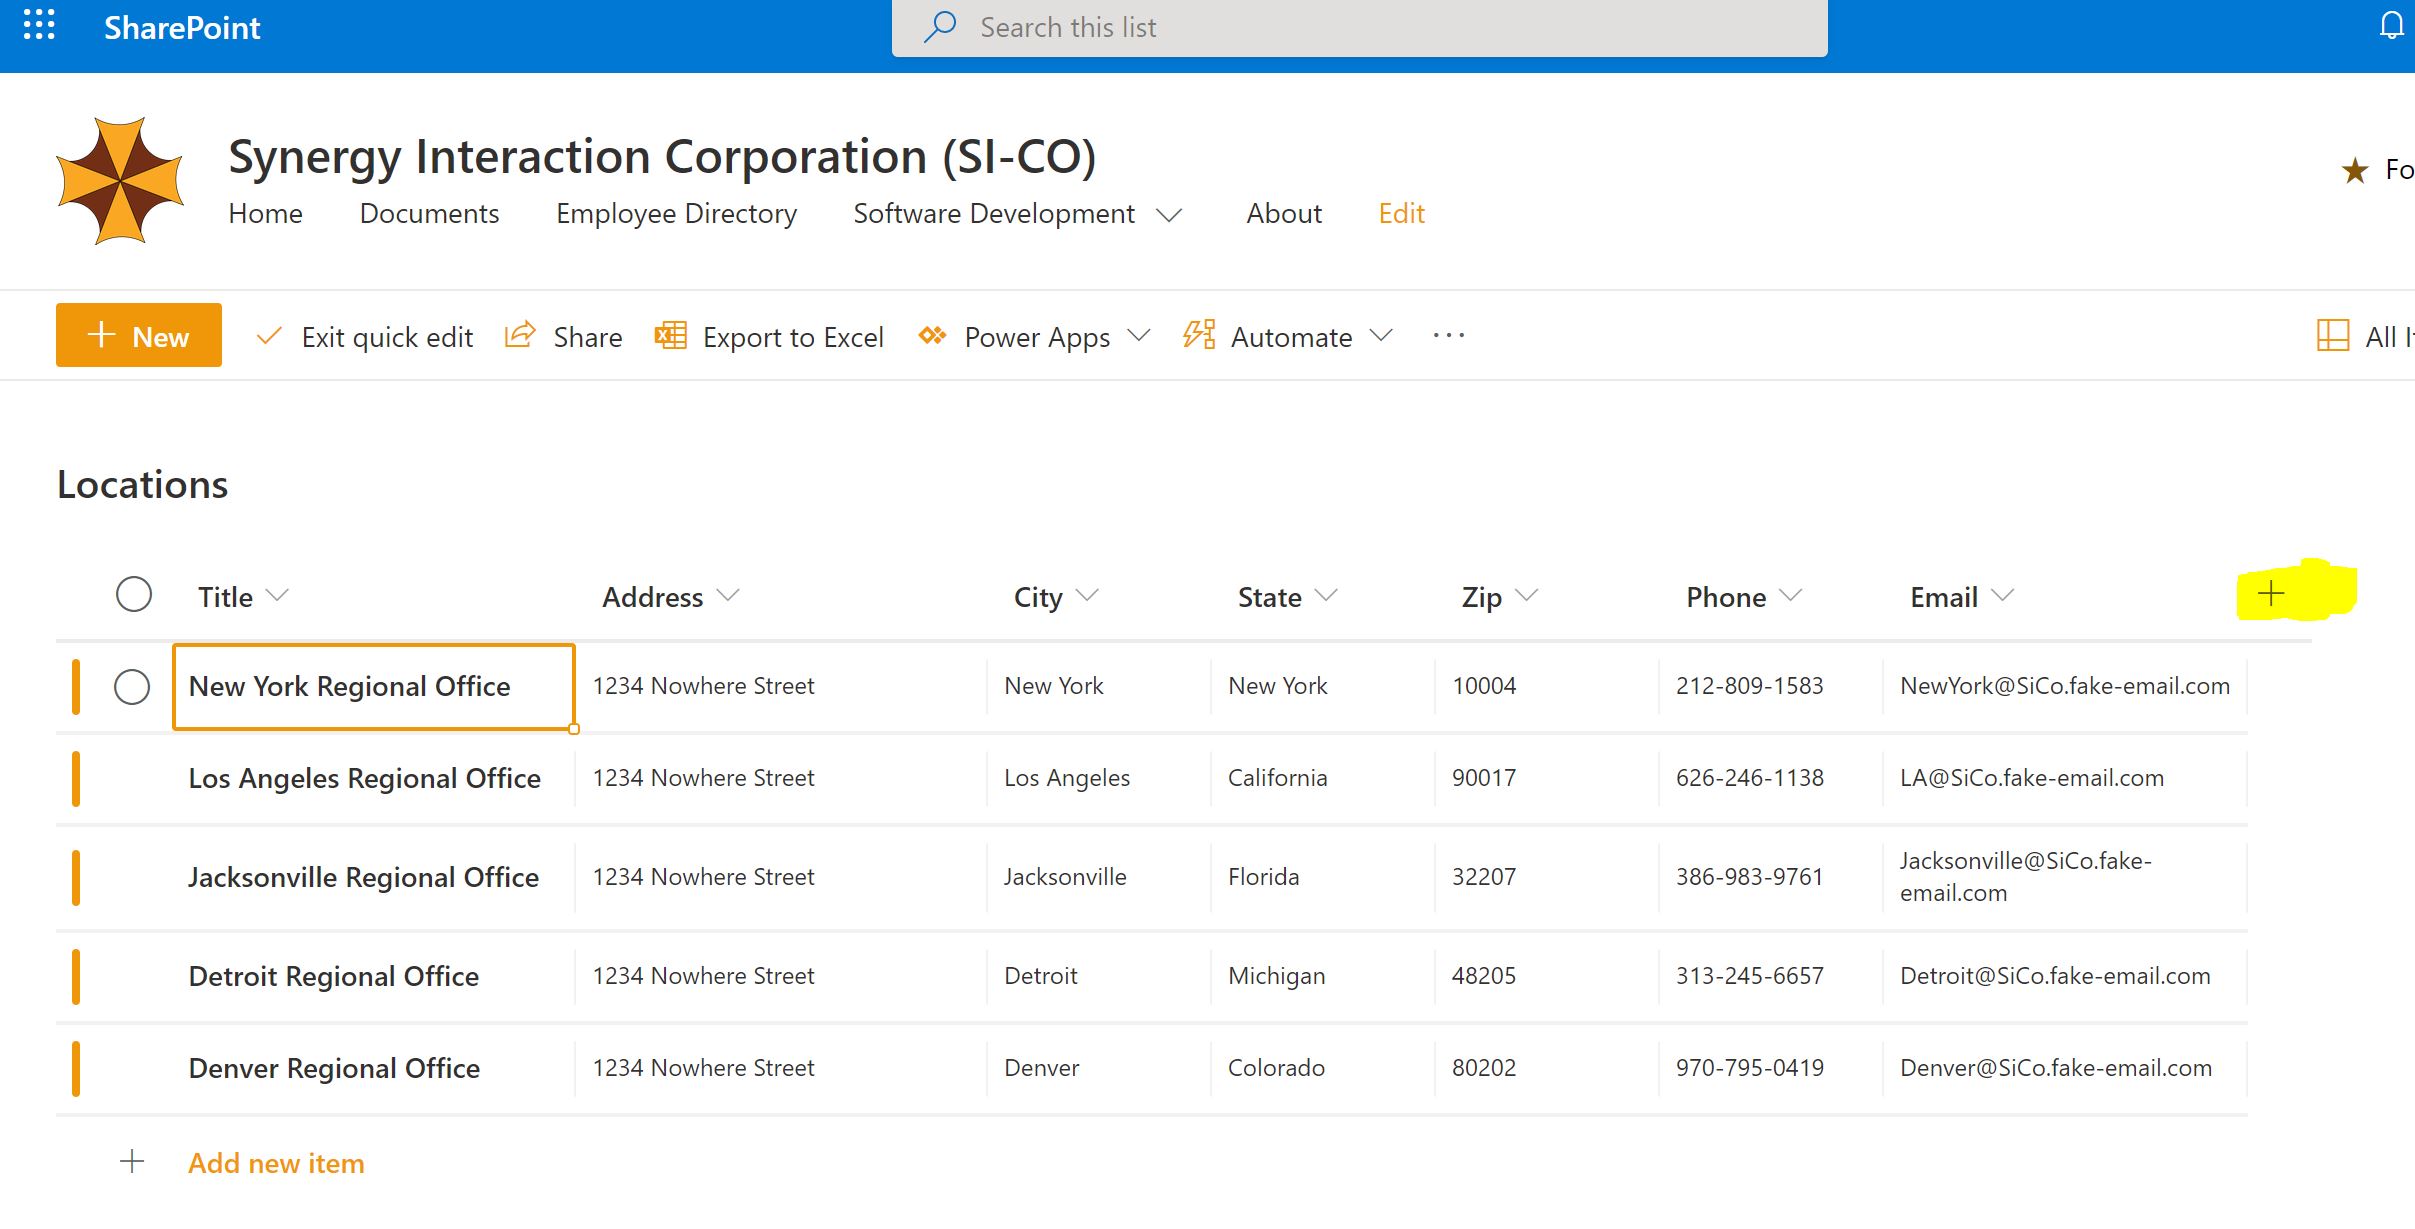
I noticed some odd when creating this demonstration, the “+” that appears in “Quick Edit” creates randomly field names, for example, one my the fields I created named “tmpl,” but displayed as “Address.” You need to reference the field name SharePoint creates in your code. The best way, I have found to find the real field name and not the display name is to go into “List Settings” and hover over the field name. You will see a “HyperLink” at the bottom of your browser such as: “https://<Site URL>/_layouts/15/FldEdit.aspx?List=%7B0613D78E%2D076F%2D4D45%2DBAD4%2D15917B5EA89C%7D&Field=State“. The field name is at the end of the URL.
I will be putting my project in the C:\export\locations directory by navigating to c:\export directory via “cd c:\export” and creating a directory called “locations” via “mkdir locations”. Then I will enter the directory by cd locations.
Run the SharePoint Yeoman generator by executing the following command:
yo @microsoft/sharepoint
Use the following to complete the prompt that is displayed:
- What is your solution name?: Locations
- Which baseline packages do you want to target for your component(s)?: SharePoint Online only (latest)
- Where do you want to place the files?: Use the current folder
- Do you want to allow the tenant admin the choice of being able to deploy the solution to all sites immediately without running any feature deployment or adding apps in sites?: No
- Will the components in the solution require permissions to access web APIs that are unique and not shared with other components in the tenant?: No
- Which type of client-side component to create?: WebPart
- What is your Web part name?: Locations
- What is your Web part description?: Provides a Location Webpart
- Which framework would you like to use?: React
The Yeoman generator may take a while to scaffold out the the project. Once complete, Execute the command “code .” to open the Visual Studio Code Editor. I removed the <source directory>\src\webparts\helloWorld\components directory. This deletes the following files: ILocationsWebpartProps.ts, LocationsWebpart.module.scss, and LocationsWebpart.tsx.
In the <source directory>\src\webparts\locations create a new file called: locations.module.scss. Edit this file and add the following css.
@import '~office-ui-fabric-react/dist/sass/References.scss';

.location {
    .container {
        width: 100%;
        clear: both;
        display: flex;
        flex-flow: column;
        align-items: stretch;
        margin: 0px auto;
    }
    .head {
        font-size: 25px;
        width: 100%;
        font-weight: bold;
        border-bottom: 1px solid black;
        margin-bottom: 20px
    }
    .location {
        margin: 5px;
        display: inline-block;
        border-bottom: 1px solid #D8D8D8;
        width: 275px;
        height: 85px;
        font-size: 10px;
    }
    .image {
        margin:5px;
        float: left;
        width: 75px;
        height: 75px;
    }
    .header {
        font-size: 13px;
        font-weight: bold;
    }
    .data {
        font-size: 12px;
    }
}
To point out something nice about SCSS, if the file a name ending in .module.scss, your classes will be post-fixed with an underscore and a guid which makes them unique and they won’t interfere with other SharePoint classes.
Next edit the <source directory>\src\webparts\locations\locationsLocationsWebPart.ts. I removed the following lines.
import {
  IPropertyPaneConfiguration,
  PropertyPaneTextField
} from '@microsoft/sp-property-pane';

import LocationsWebpart from './components/LocationsWebpart';
import { ILocationsWebpartProps } from './components/ILocationsWebpartProps';

export interface ILocationsWebpartWebPartProps {
  description: string;
}
Also, I modify the line: “export default class LocationsWebPart extends BaseClientSideWebPart {” to export “default class LocationsWebPart extends BaseClientSideWebPart {“. Here is the new code:
import * as React from 'react';
import * as ReactDom from 'react-dom';
import { Version } from '@microsoft/sp-core-library';
import { BaseClientSideWebPart } from '@microsoft/sp-webpart-base';
import {SPHttpClient,SPHttpClientResponse} from '@microsoft/sp-http';
import {Environment,EnvironmentType} from '@microsoft/sp-core-library';

import * as strings from 'LocationsWebPartStrings';
import styles from './locations.module.scss';

export interface ISPLists {
  value: ISPList[];
}

export interface ISPList {
  ID: number;
  Title: string;
  State: string;
  Address: string;
  City: string;
  Zip: string;
  Phone: string;
  Email: string;
}

export default class LocationsWebPart extends BaseClientSideWebPart<ISPLists> {

  public render(): void {
    this.domElement.innerHTML = `
    <div class="${styles.location}">
      <div class="${styles.container}">
        <span class="${styles.head}">Locations</span>
        <div id="locations"></div>
      </div>
    </div>`;
    this._renderListAsync();
  }

  private _renderListAsync(): void {
    //alert("_renderListAsync!");
    if (Environment.type == EnvironmentType.SharePoint ||  Environment.type == EnvironmentType.ClassicSharePoint) {
      this._getListData()
        .then((response) => {
          this._renderList(response.value);
        });
    }
  }
  private _renderList(items: ISPList[]): void {
    let htmlout: string = "";
    items.forEach((item: ISPList) => {
      htmlout += `<div class="${styles.location}">`;
      htmlout += `  <img src="https://<url>/SiteAssets/MapIcon.jpg" class="${styles.image}" />`;
      htmlout += `  <span class="${styles.header}">${item.Title}</span><br>`;
      htmlout += `  <span class="${styles.data}">${item.Address}</span><br>`;
      htmlout += `  <span class="${styles.data}">${item.City}, ${item.State} ${item.Zip} </span><br>`;
      htmlout += `  <span class="${styles.data}">${item.Phone}</span><br>`;
      htmlout += `  <span class="${styles.data}"><a href="mailto:${item.Email}">${item.Email}</a></span><br>`;
      htmlout += `</div>`;
    });
    const listContainer: Element = this.domElement.querySelector('#locations');
    listContainer.innerHTML = htmlout;
  }

  private _getListData(): Promise<ISPLists> {
    let restQuery : string = "https://<urL/_api/Web/Lists/GetByTitle('locations')/items?";
    restQuery += "&$select=Id,Title,State,Address,City,Zip,Phone,Email";
    return this.context.spHttpClient.get( restQuery ,SPHttpClient.configurations.v1)
    .then((response: SPHttpClientResponse) => {
      return response.json();
    });
  }

  protected onDispose(): void {
    ReactDom.unmountComponentAtNode(this.domElement);
  }

  protected get dataVersion(): Version {
    return Version.parse('1.0');
  }
}
Lines 65 and 66 set the SharePoint REST query. Remember, I mentioned SharePoint creating odd field names when adding new fields in quick edit mode. In this query, you need to use the field names and not the display names. You should be able to run query on the browser’s URL line and get a result.
In the Visual Studio Code editor, click on terminal and the new terminal to open a new PowerShell command line with in Visual Studio Code. Run “gulp serve –nobrowser,” to start up the WorkBench. Normally, this command starts a browser and navigates to: https://localhost:4321/temp/workbench.html. Line 41 in the <source directory>\src\webparts\locations\locationsLocationsWebPart.ts checks the environment in which the code is running, and won’t run the REST query (Figure 3).
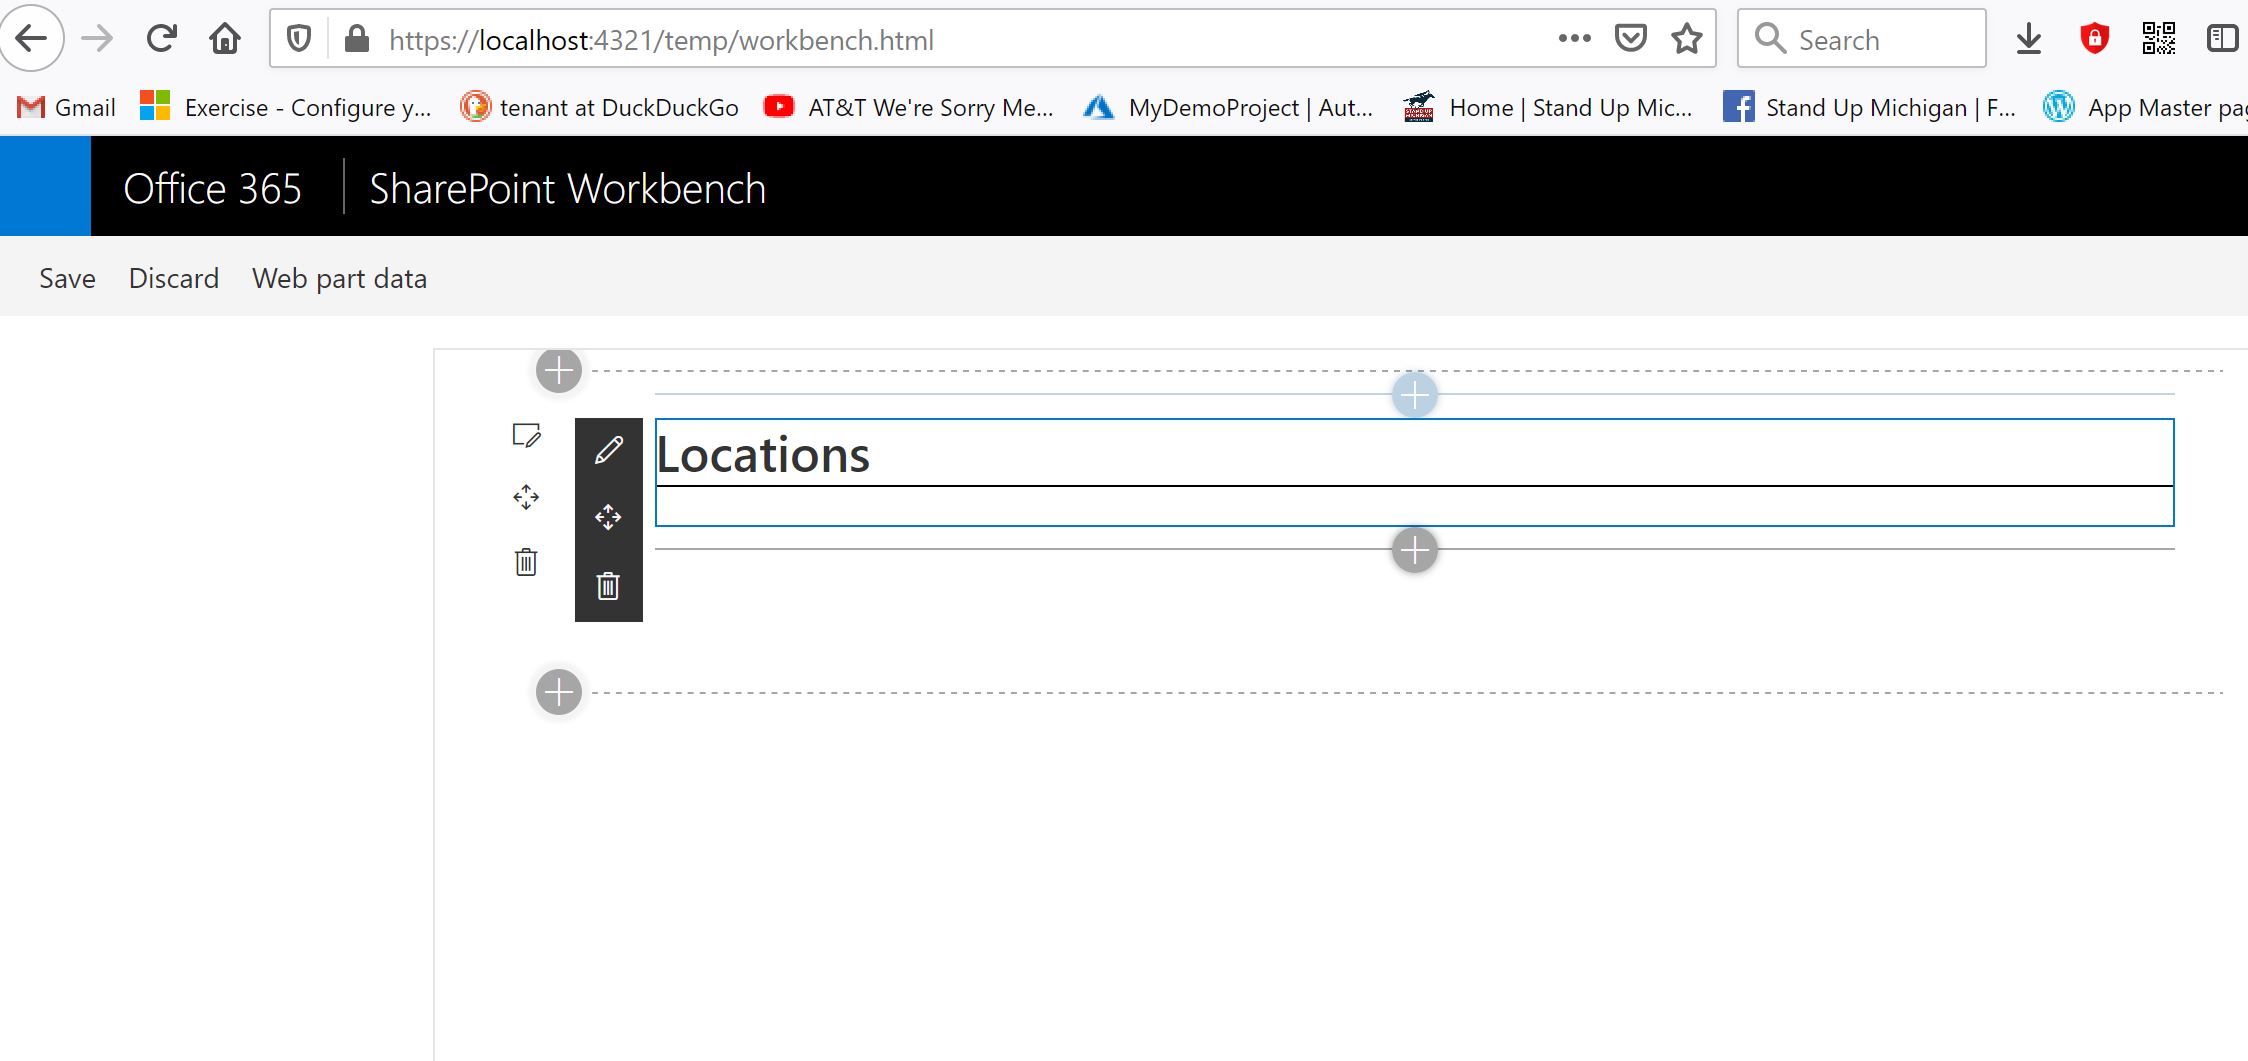
Note: you will have to add you’re webpart once the workbench is added. Since these webpart is accessing SharePoint data: Open a browser to “https://<sitename>.sharepoint.com/_layouts/15/workbench.aspx” and add
The SharePoint Online Workbench contains your local gulp server running on your machines, and allows access to SharePoint Data.
So, this is all for now. I will work on another post on packaging the webpart and installing your webpart in the SharePoint App Store. Please post questions in the comments.
Writing SharePoint WebParts using the SPFx Framework (Part 3)