

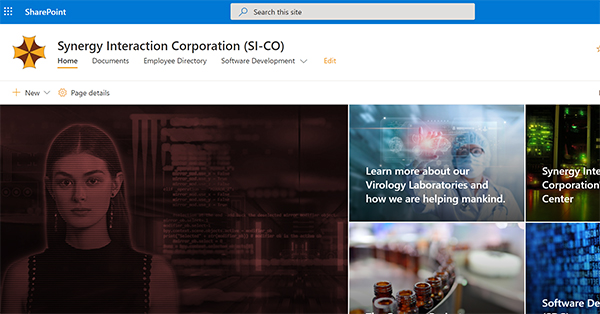
I know there are a few blog posts and free learning modules explaining the processes of writing SharePoint Webparts using the SPFx framework. For this blog post, I will be using my personal SharePoint Development Tenant which is based on a fictitious company named, “Synergy Interaction Corporation” which I have shorted to “Si-Co.”
When I started attending SharePoint Developer Community Monthly Calls, I hard a hard time following the examples that was being demonstrated because I didn’t understand the process they were using or the SPFx framework. Also, I’ve been developing SharePoint Hosted Applications using Visual Studio and jQuery.
Microsoft Learn has a great module, with a screencast hosted on YouTube, which teaches this type of development. It is my goal for this blog post is to show the process of:
- setting up an development environment,
- scaffolding out your first project by using Yeoman, and
- viewing the “HelloWorld” webpart in the localhost workbench and the SharePoint Workbench.
Setting up the SharePoint Framework Development Environment
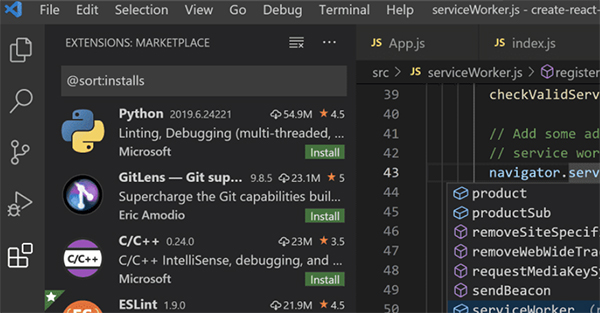
Microsoft has adopted the open-source tooling for the foundation of SharePoint Framework development. First, you will need a code editor. Microsoft shows all the demos using Visual Studio Code. VS Code is free and IMHO, a decent code editor and a good choice when following their examples or learning modules.
When I was setting up my development environment, I discovered that I has a 32-bit version of Node 0.12 installed by running node -v from the command line. Even after I installed the latest version of Node. However, Node 0.12 wasn’t listed in the Add/Remove programs. I ran “Where Node” from the command line and deleted the directory containing the 0.12 version. The other gotta is that you have to use the Node 10 for the Framework to load. I have 10.22 installed, here is the link to where it can be downloaded.
Next, we are going to install some tools using the Node Package Manager (NPM.exe) via the command line. We will begin by installing the SharePoint Framework Yeoman generator for scaffolding SharePoint Framework Projects. The command is:
npm install --global yo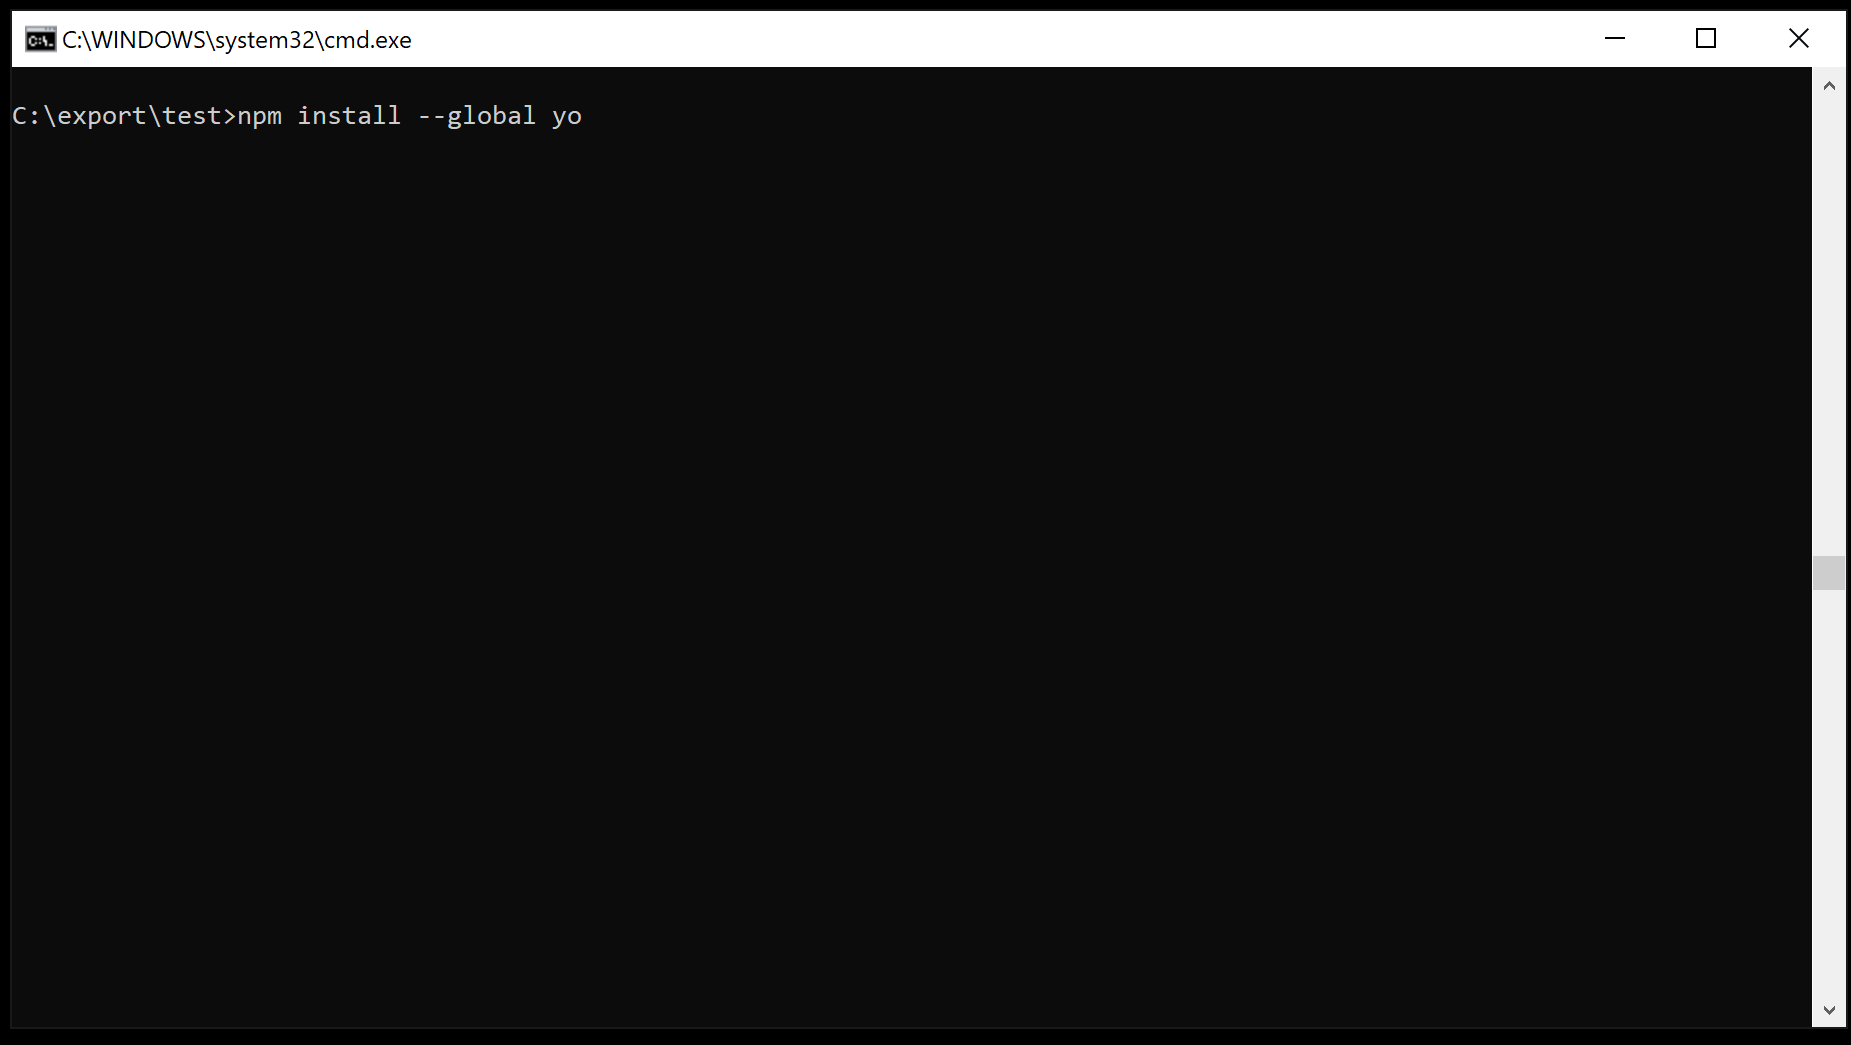
Next, we are going to install the SharePoint Framework Yeoman generator.
npm install --global @microsoft/generator-sharepoint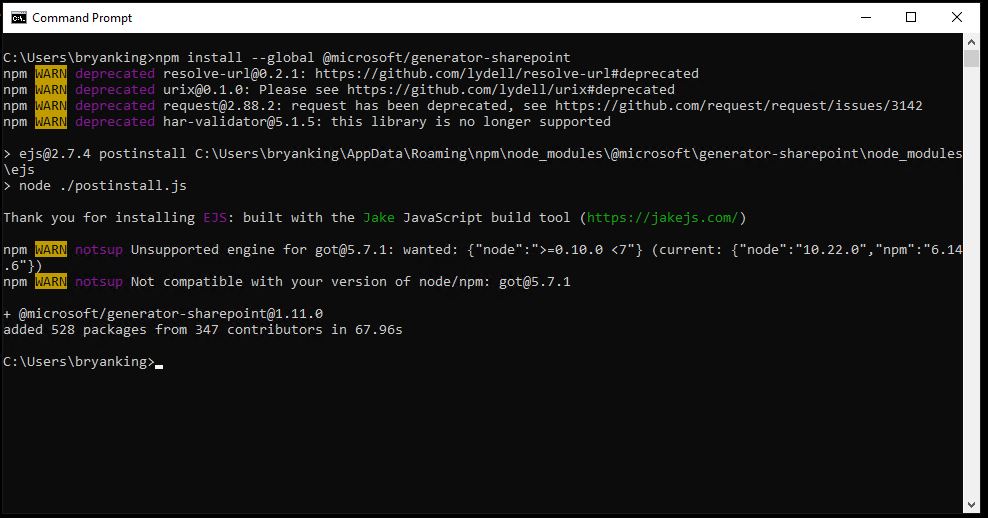
Next, we are going to using the Node Package Manager to install Gulp. Gulp is a task runner utility. The command is:
npm install --global gulp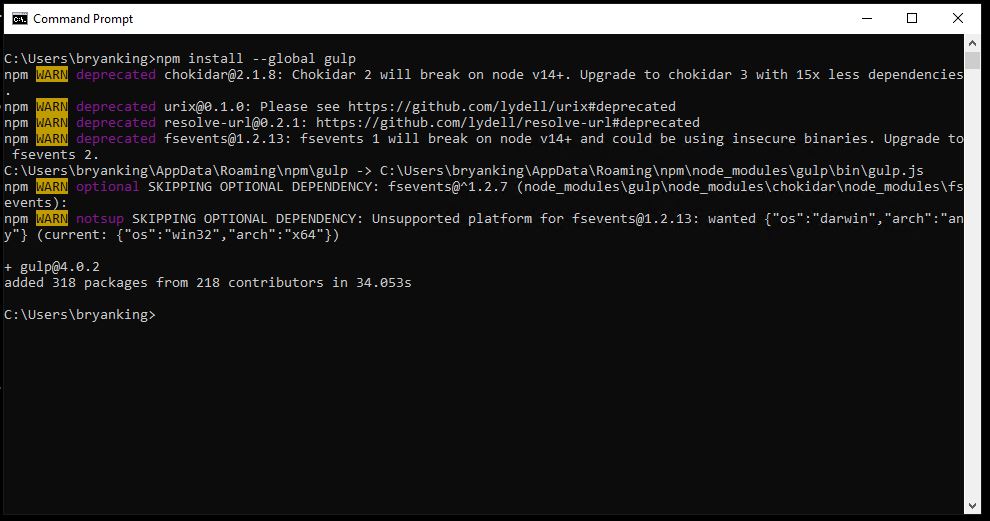
Creating Our First “Hello World” webpart.
Note: I am making the assumption that you have knowledge of the command line and can navigate the file system using the command line.
I will be putting my project in the C:\export\HelloWorld directory by navigating to c:\export directory via “cd c:\export” and creating a directory called “HelloWorld” via “mkdir HelloWorld”. Then I will enter the directory by cd HelloWorld.
Run the SharePoint Yeoman generator by executing the following command:
yo @microsoft/sharepoint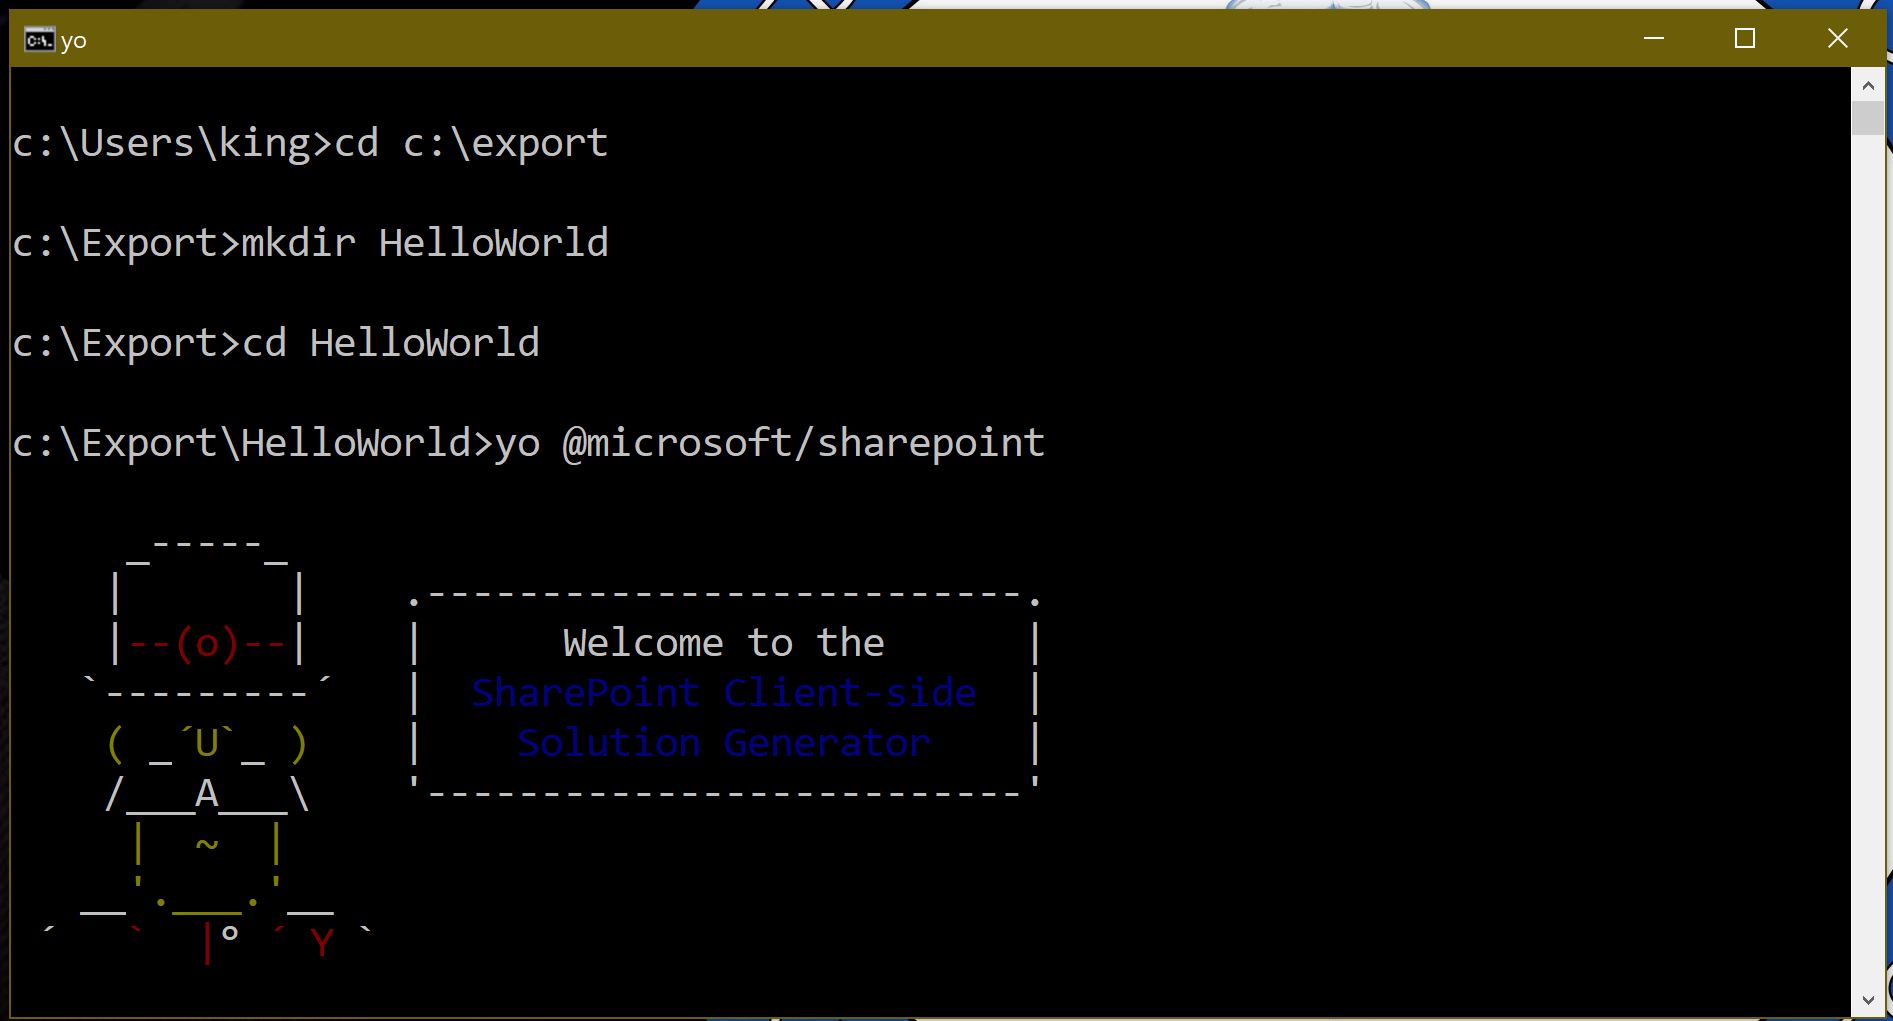
Use the following to complete the prompt that is displayed:
- What is your solution name?: HelloWorld
- Which baseline packages do you want to target for your component(s)?: SharePoint Online only (latest)
- Where do you want to place the files?: Use the current folder
- Do you want to allow the tenant admin the choice of being able to deploy the solution to all sites immediately without running any feature deployment or adding apps in sites?: No
- Will the components in the solution require permissions to access web APIs that are unique and not shared with other components in the tenant?: No
- Which type of client-side component to create?: WebPart
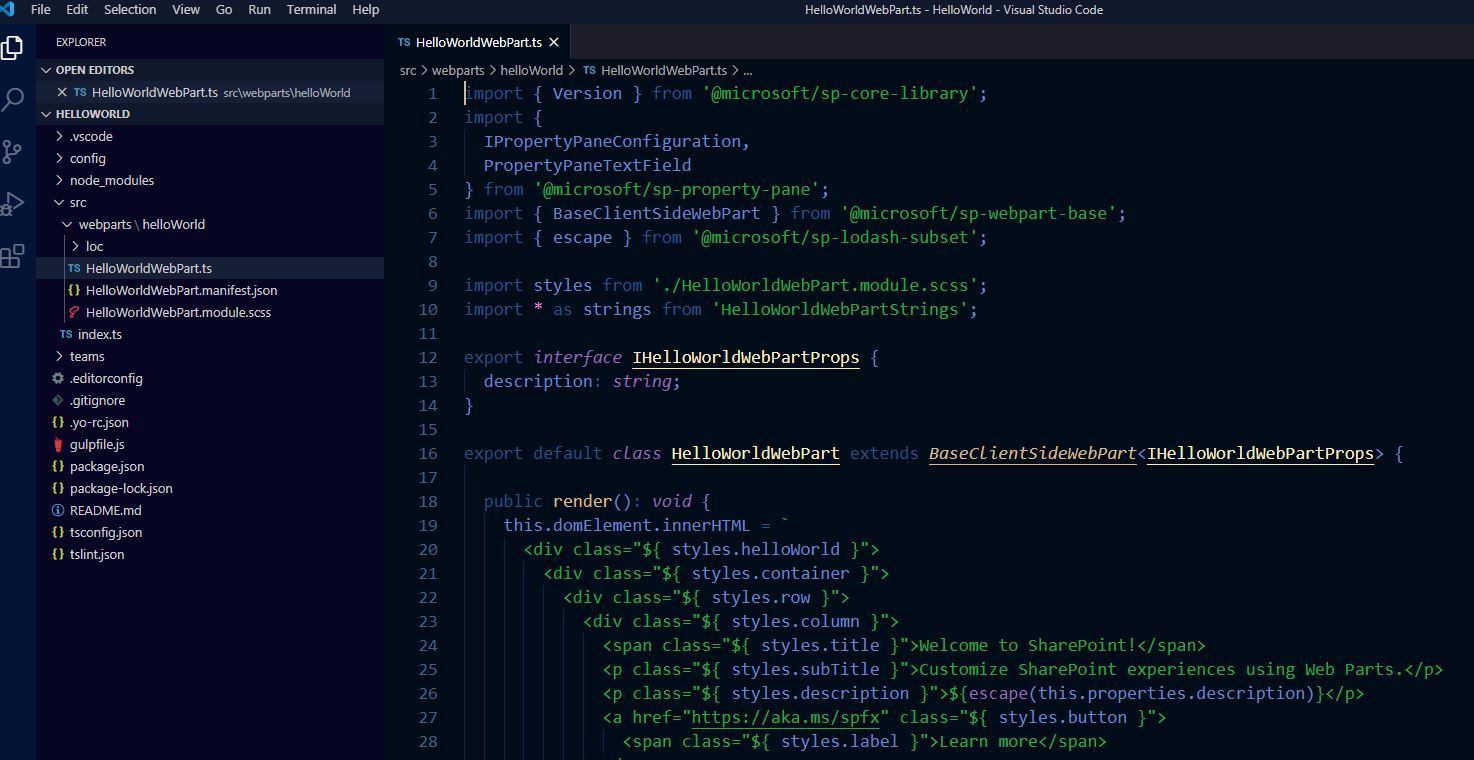
- What is your Web part name?: HelloWorld
- What is your Web part description?: HelloWorld description
- Which framework would you like to use?: No JavaScript framework
After provisioning the folders required for the project, the generator will install all the dependency packages using NPM. This may take a while. Be patient and let it finish.
When complete, you can open the project in Visual Studio Code with the following command:
code .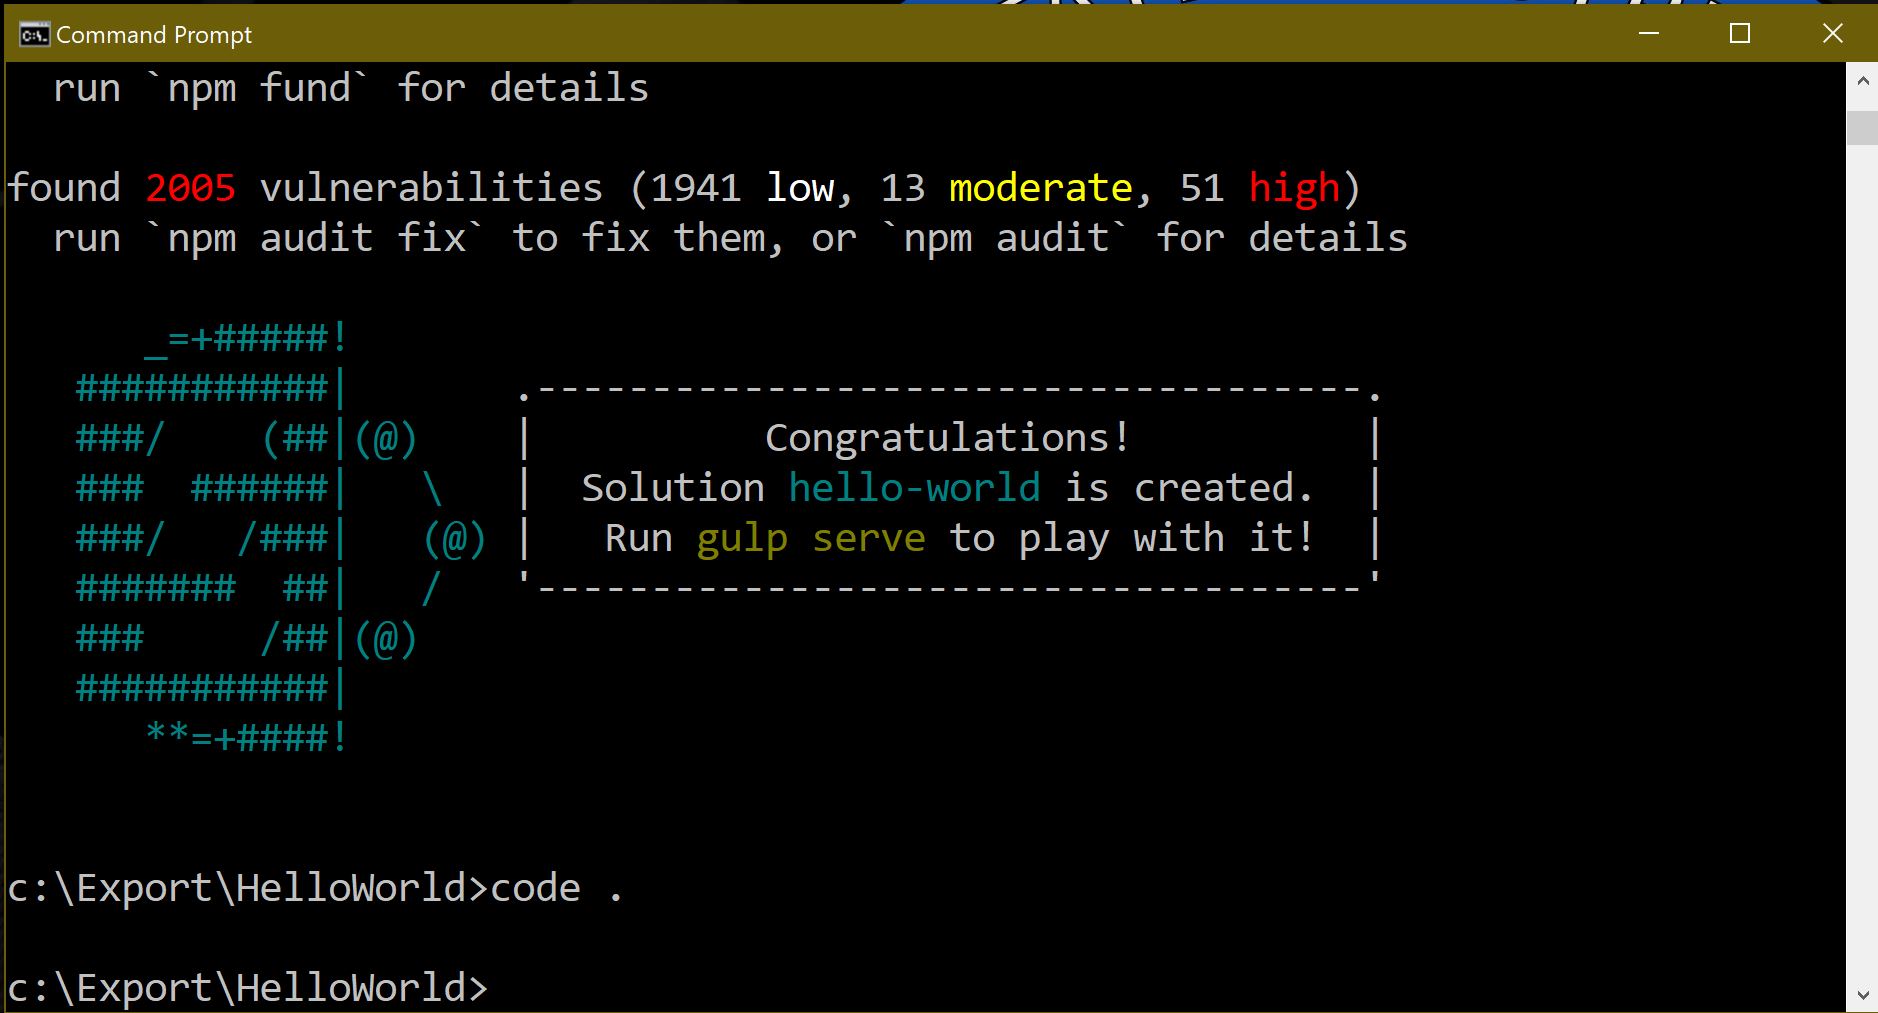
Open the webpart in the workbench use the following command from the command line (from the project directory):
gulp serve
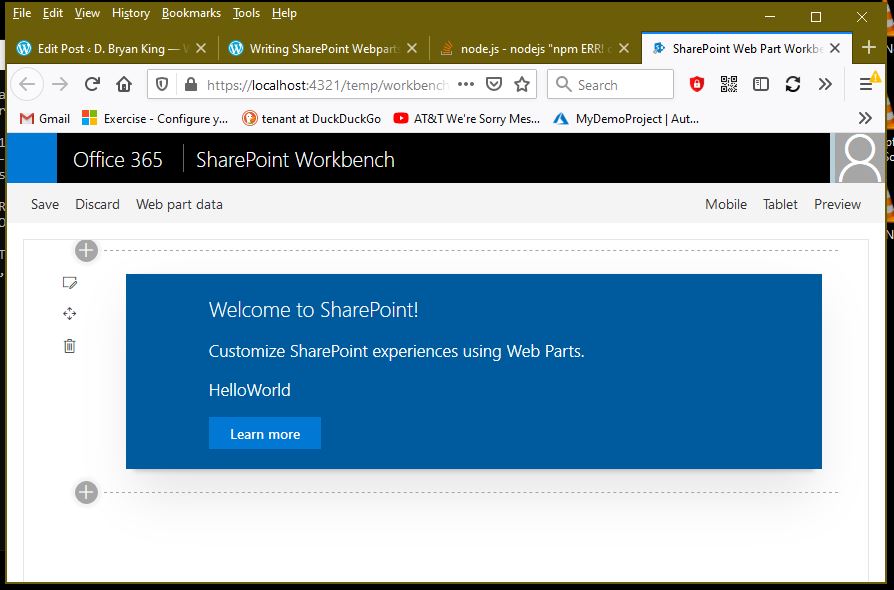
Gulp will open your default browser to “https://localhost:4321/temp/workbench.html” with a blank workbench. Click the blue + on the screen and select the “HelloWorld” webpart to add to the workbench.
If you receive the following error when trying to run gulp serve from the terminal in VS Code

Open an PowerShell and run the following command:
Set-ExecutionPolicy -Scope CurrentUser -ExecutionPolicy UnrestrictedSharePoint WebPart Workbench
The SharePoint Webpart Workbench is started with the command “Gulp Serve”. At this point, you can develop and test webparts without an internet connection because everything is hosted locally. There are even methods to simulate list data from SharePoint.
At some point you will need to test your webpart with the data from a SharePoint List. SharePoint Online has a built in Webpart Workbench located at: https://your-sharepoint-site/_layouts/workbench.aspx
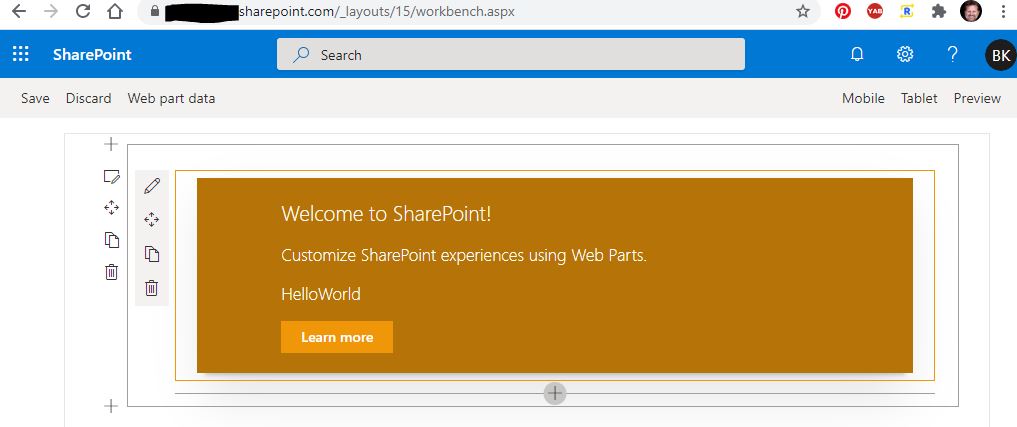
The SharePoint Online Version of the workbench will also connect to Gulp and be able to access the webpart you are developing. Also, you will have access to connect to lists and run CRUD operations on the list.
In closing, I hope this help you set up your development environment and start building SharePoint webparts. The Microsoft Learn module I mentioned in the beginning of this post is a great starting point for learning WebPart Development. I am working through the course now.
I would like to hear what you think on SharePoint Development. Comment Below!
Writing SharePoint Webparts using the SPFx Framework (Part 2)
Updated: 3/27/2021